Aptible PaaS logoDocs

Django Starter Guide

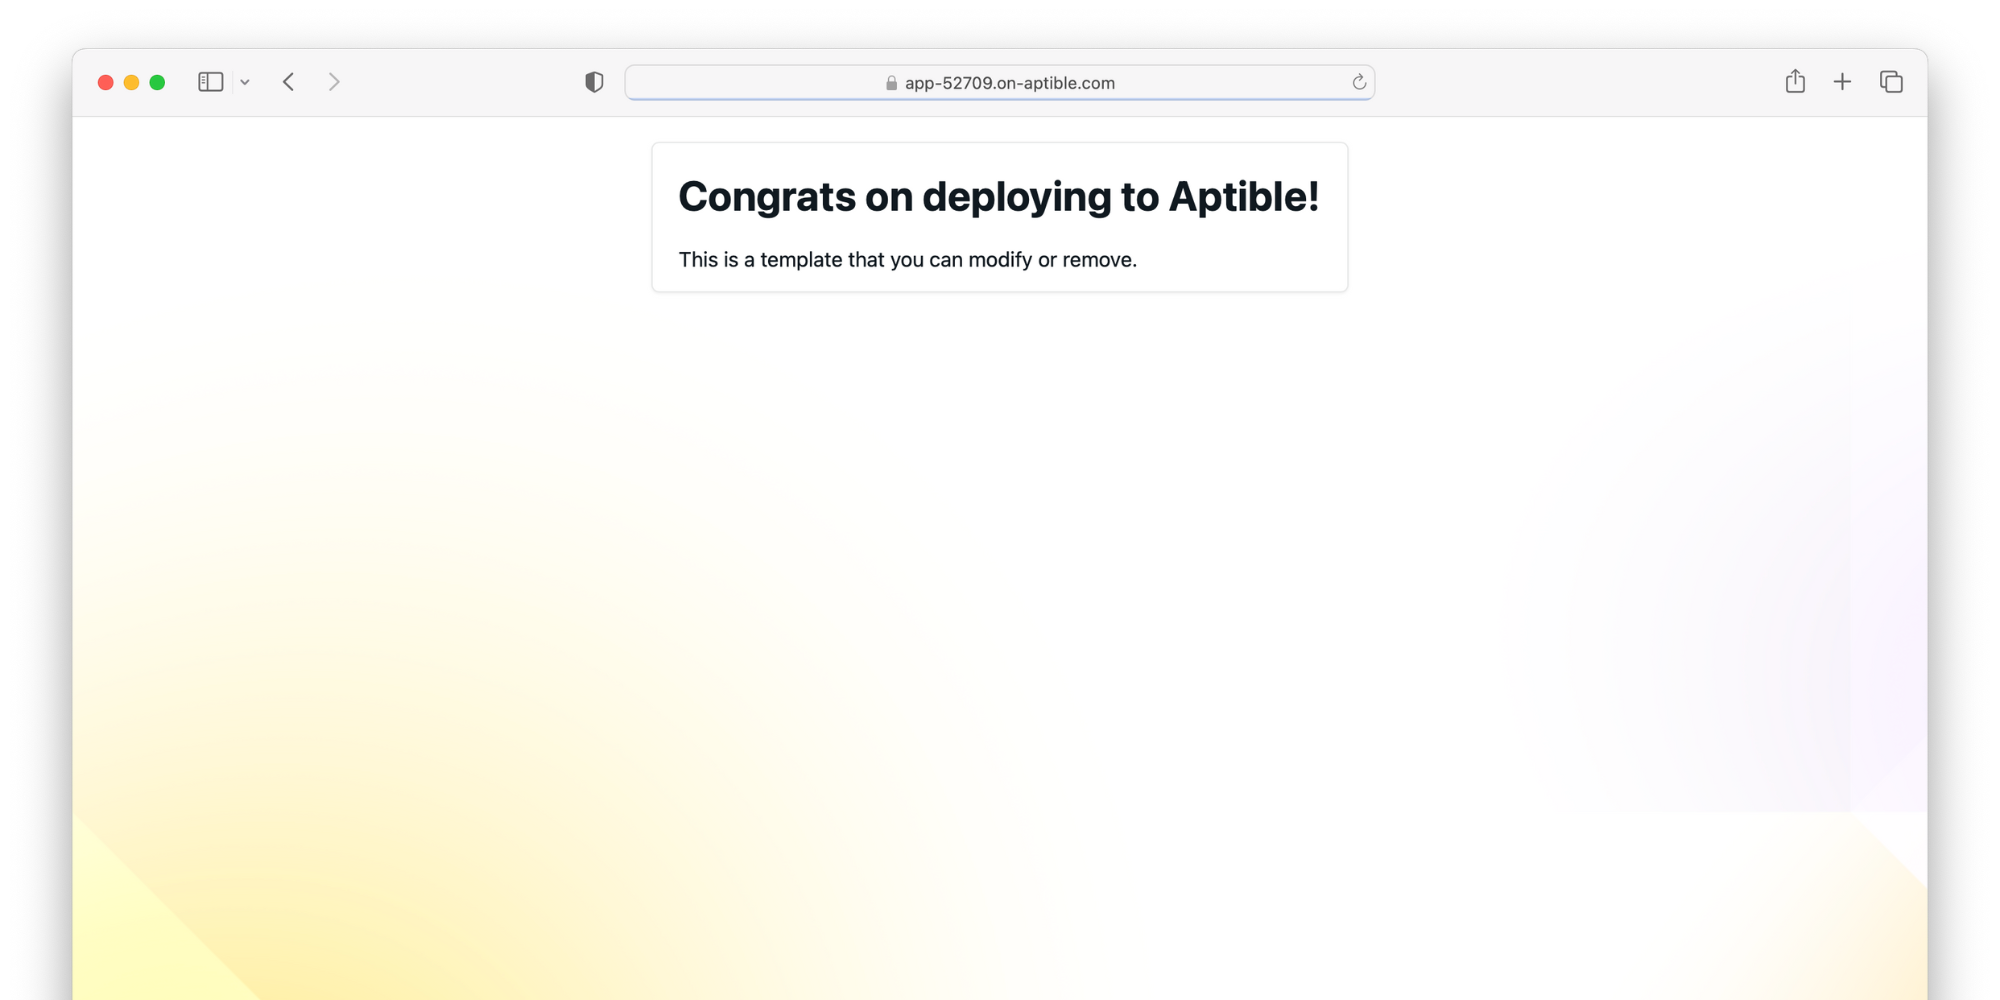
This guide will walk you through the process of launching a barebones Django Application on Aptible. See it deployed live here.

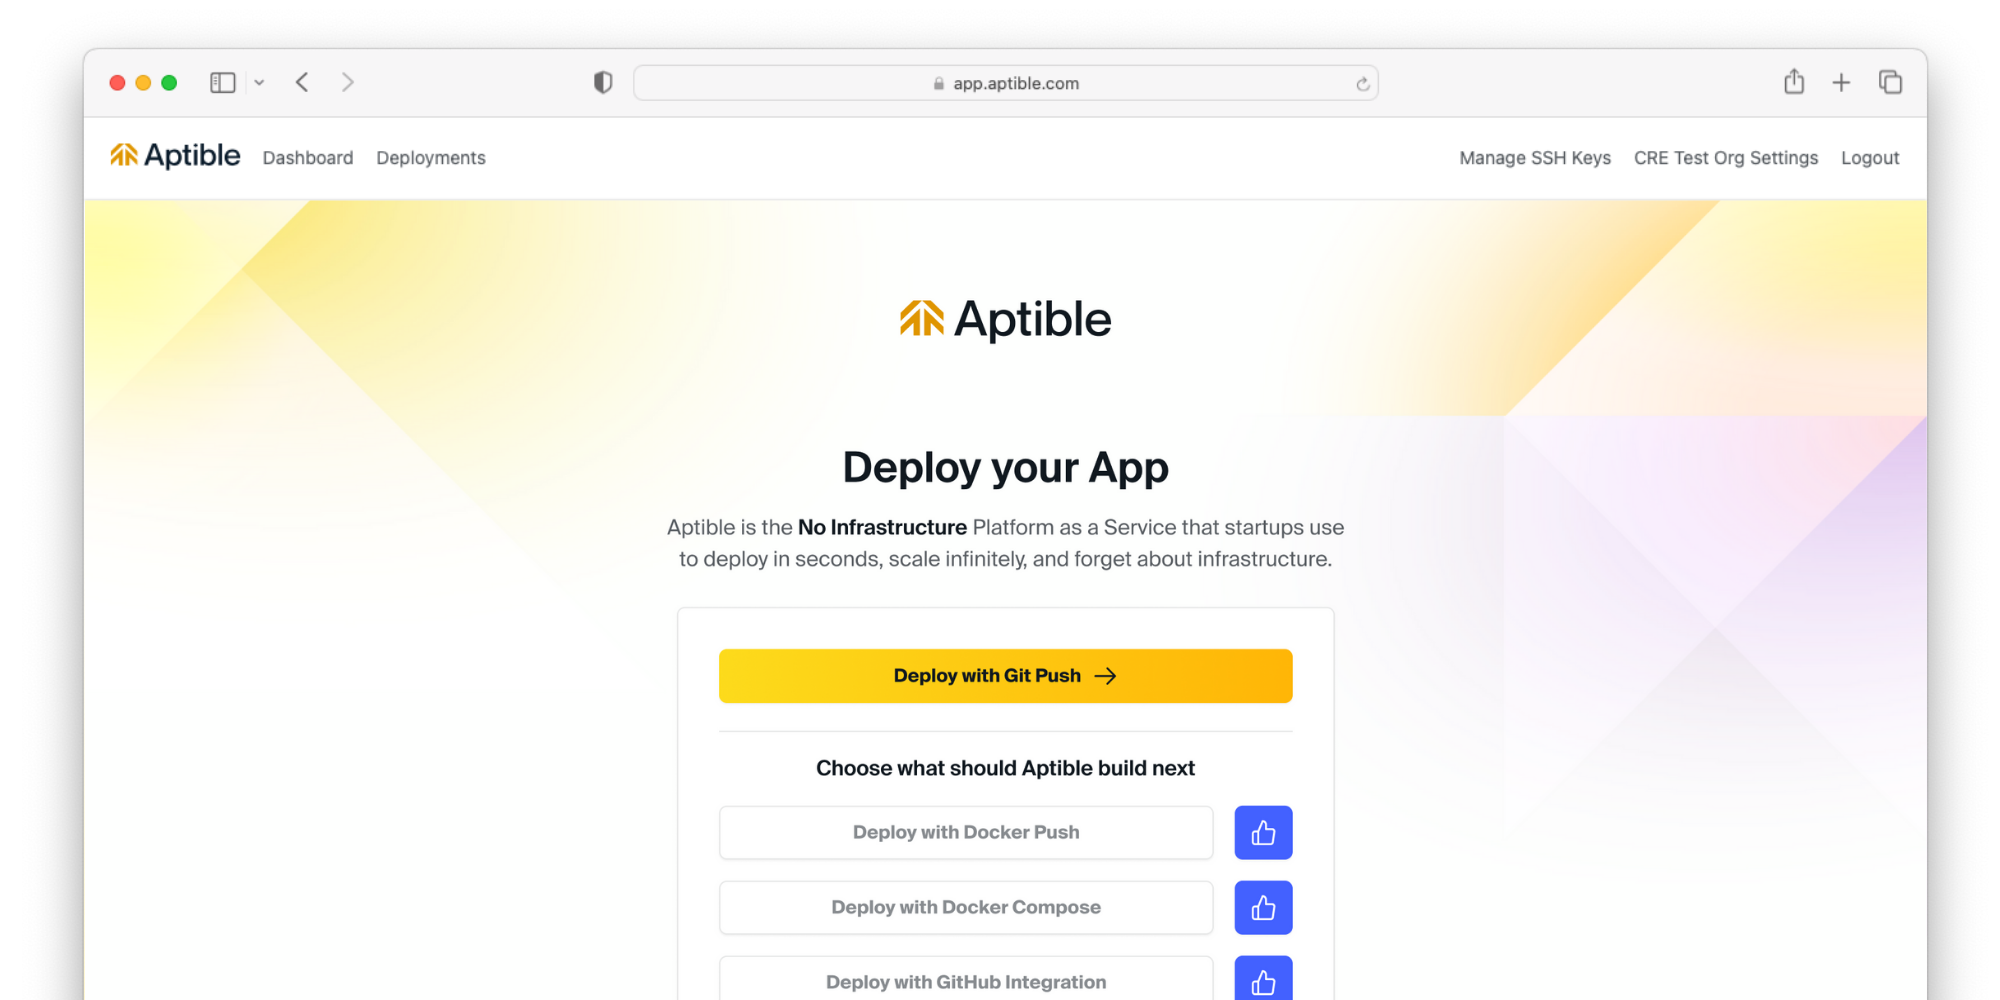
📘 Want to skip the reading? Deploy this starter template directly from the Aptible Dashboard.

Prerequisites

This guide has the following prerequisites:

Clone the Repo

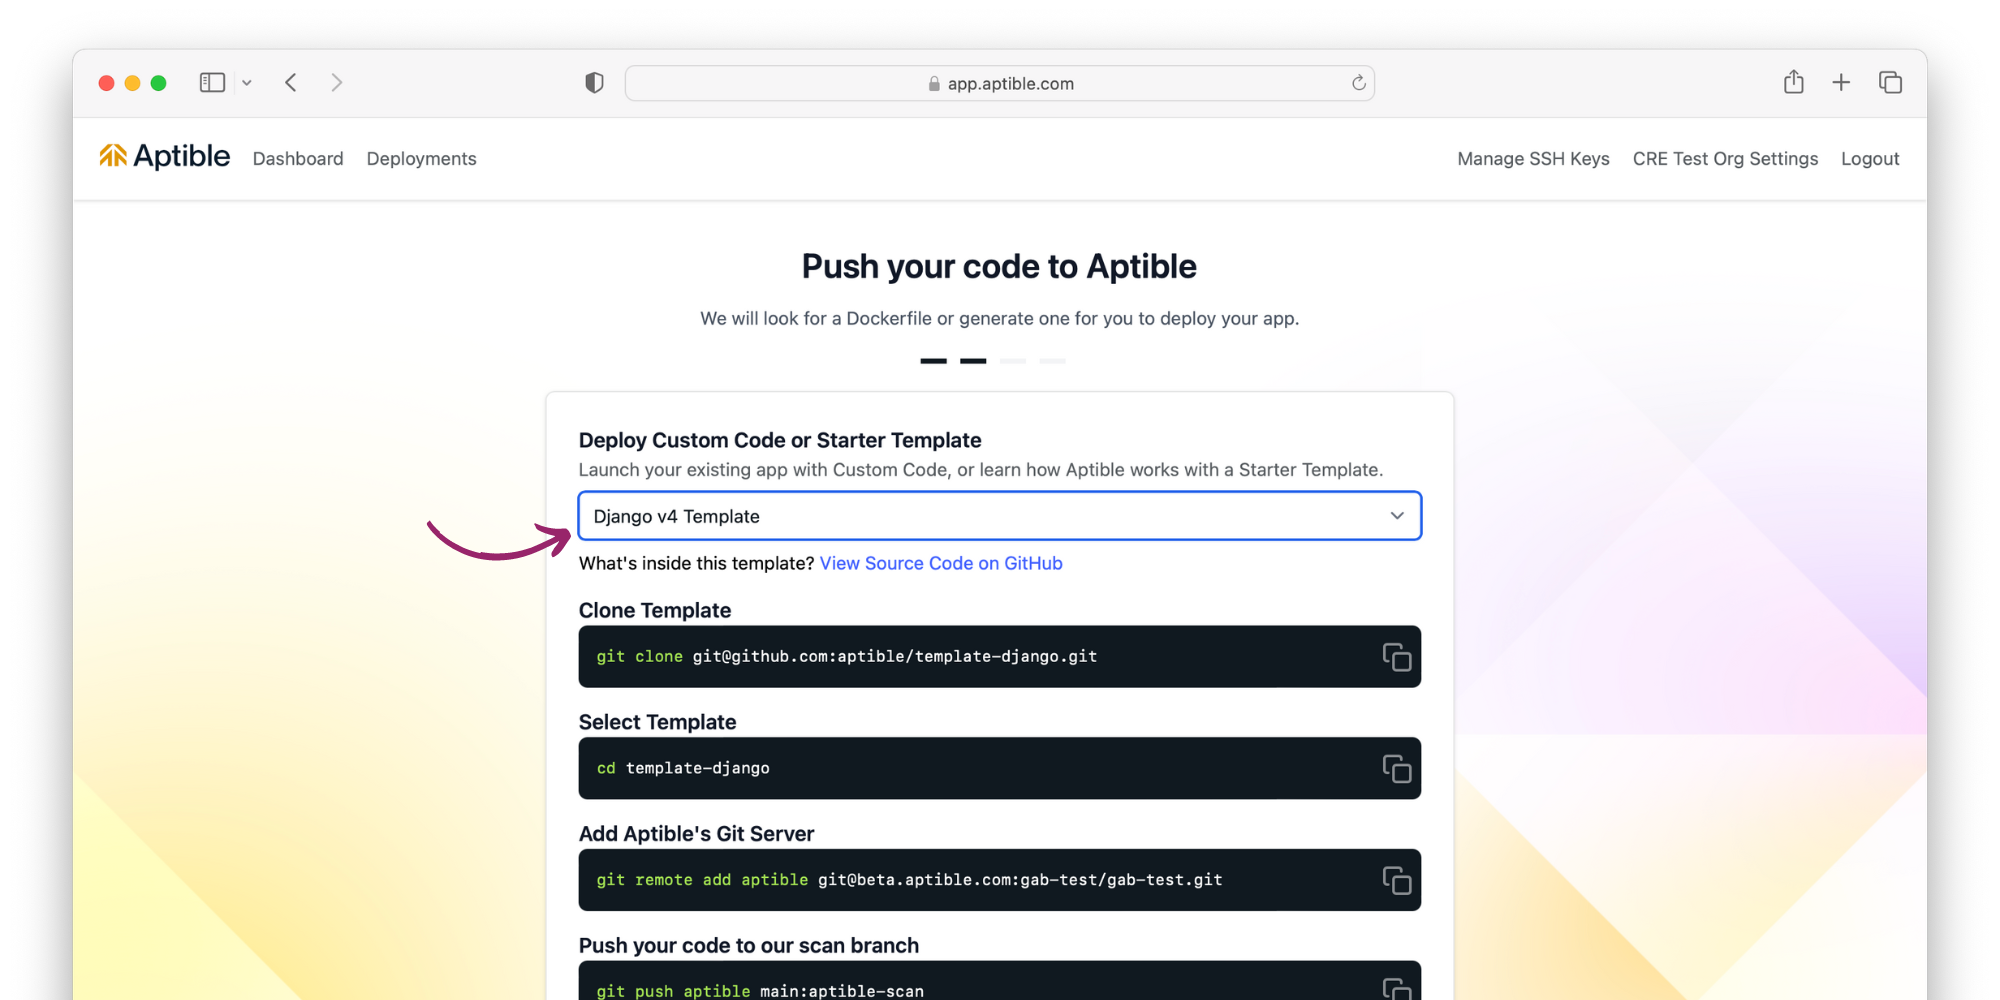
Clone the template-django repo to your local machine.

Create an App

Create an App using the Dashboard or the aptible apps:create command:

# Set or substitute $APP_HANDLE with the app name of your choice
aptible apps:create "$APP_HANDLE"

Until you push code and trigger a build, Aptible uses the App as a placeholder. Once provisioned, copy the App's Git Remote from the Dashboard or when it is returned in the CLI. The Remote will be referred to as $GIT_REMOTE moving forward.

Set the secret key

Set a secret key to use with Django by setting the SECRET_KEY environment variable:

aptible config:set --app "$APP_HANDLE" SECRET_KEY="$SECRET_KEY"

Push your code

Push the cloned repo to Aptible by adding Aptible as a git remote for your app, and then using git push to push your code:

git remote add aptible "$GIT_REMOTE"
git push aptible main

You can use the logs that will stream to your terminal to understand the cause of failure in case anything goes wrong.

Add a Default Endpoint

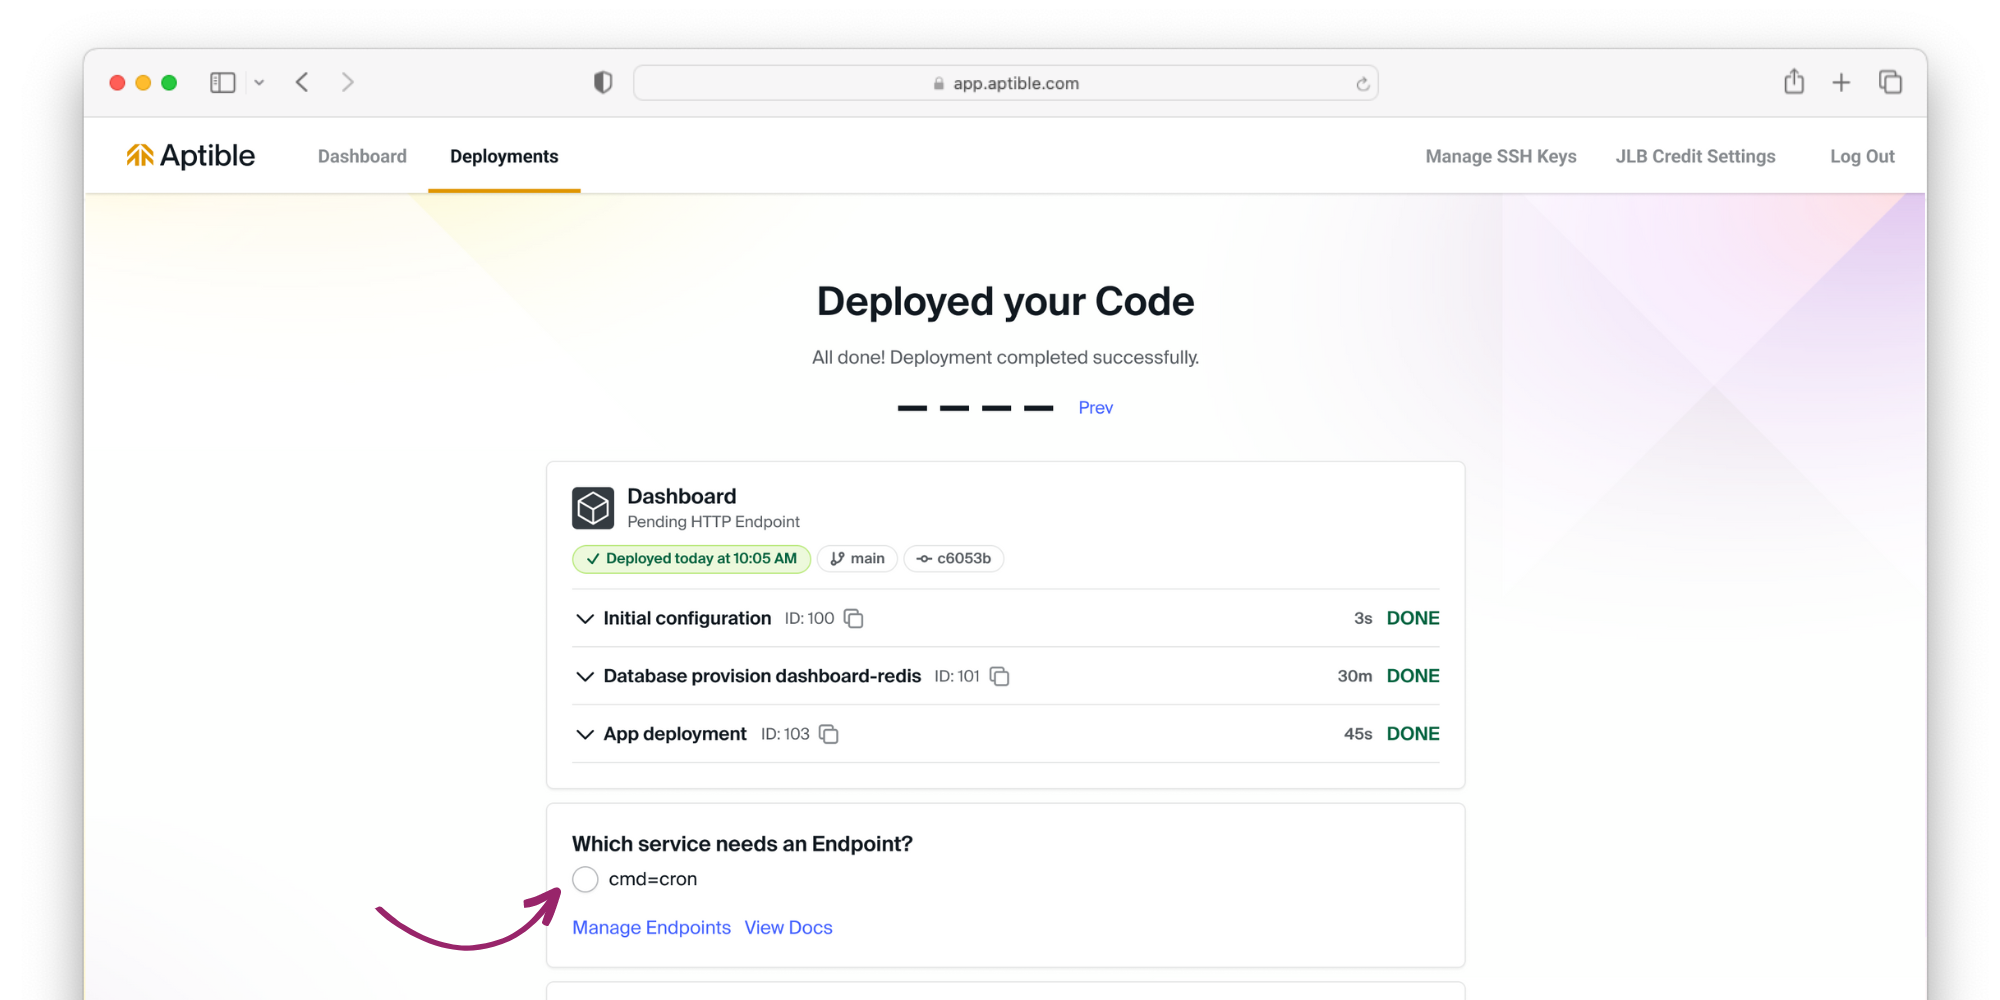
Now that your app is running, you need to create a default Endpoint to see it in action. Each endpoint defines an Elastic Load Balancer and one or more proxies that provide SSL termination; these expose your application to the web and keep your traffic secure, respectively.

In the Dashboard, select your app and navigate to the Endpoints tab. Create your first endpoint with all of the default settings, and click Save Endpoint. This configuration will use the Default Domain of *.on-aptible.com to route traffic to your application. Later on, you can create your own endpoint with a Custom Domain. It is also possible to create the endpoint using the CLI command aptible endpoints:https:create.

After the endpoint is provisioned, the configured hostname will be available to accept traffic.

Optional Next steps:

Provision a Database

Add a PostgreSQL Database for your App using the Dashboard or via the aptible db:createCLI command, substituting $DB_HANDLE with the database name of your choice:

aptible db:create "$DB_HANDLE" --type postgresql

The aptible db:create command will return a connection string on success. This is a Database Credential that is needed to configure your App. This connection string can be accessed in the Dashboard by clicking on Reveal under Credentials in the database page. Going forward in this document, we'll refer to the Credentials as $DATABASE_URL.

📘 Databases are only reachable from within your Stack's internal network. This means your Containers will be able to connect to your database, but if you want to connect from your workstation, you'll need to use a Database Tunnel.

Update App Configuration

Configure the App to point it to the newly provisioned Database by adding the required environment variable. Use the aptible config:set command as documented below, substituting $APP_HANDLE and $DATABASE_URL with their proper values.

aptible config:set --app "$APP_HANDLE" \
    "DATABASE_URL=$DATABASE_URL"

This command will result in the app deploying again to reflect the updated configuration.