Deploy Now
GitHub Repo
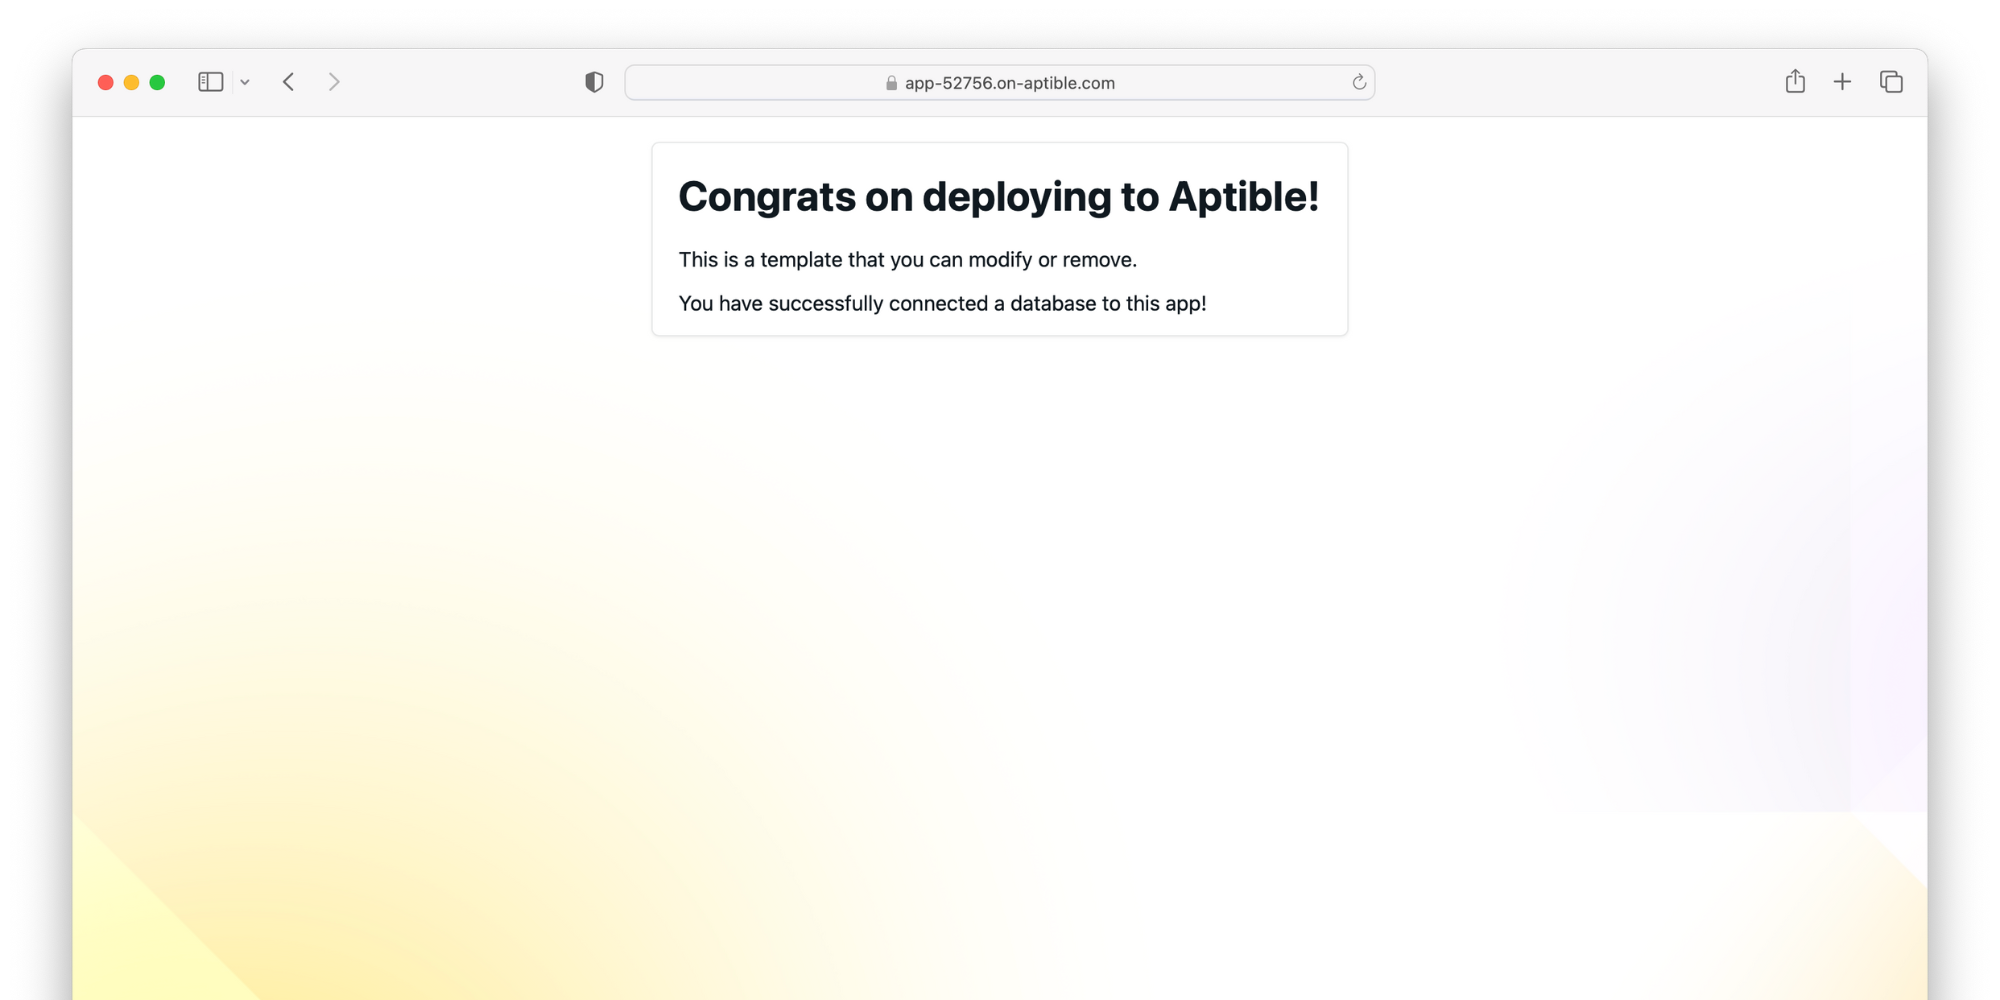
View Live Example
Overview
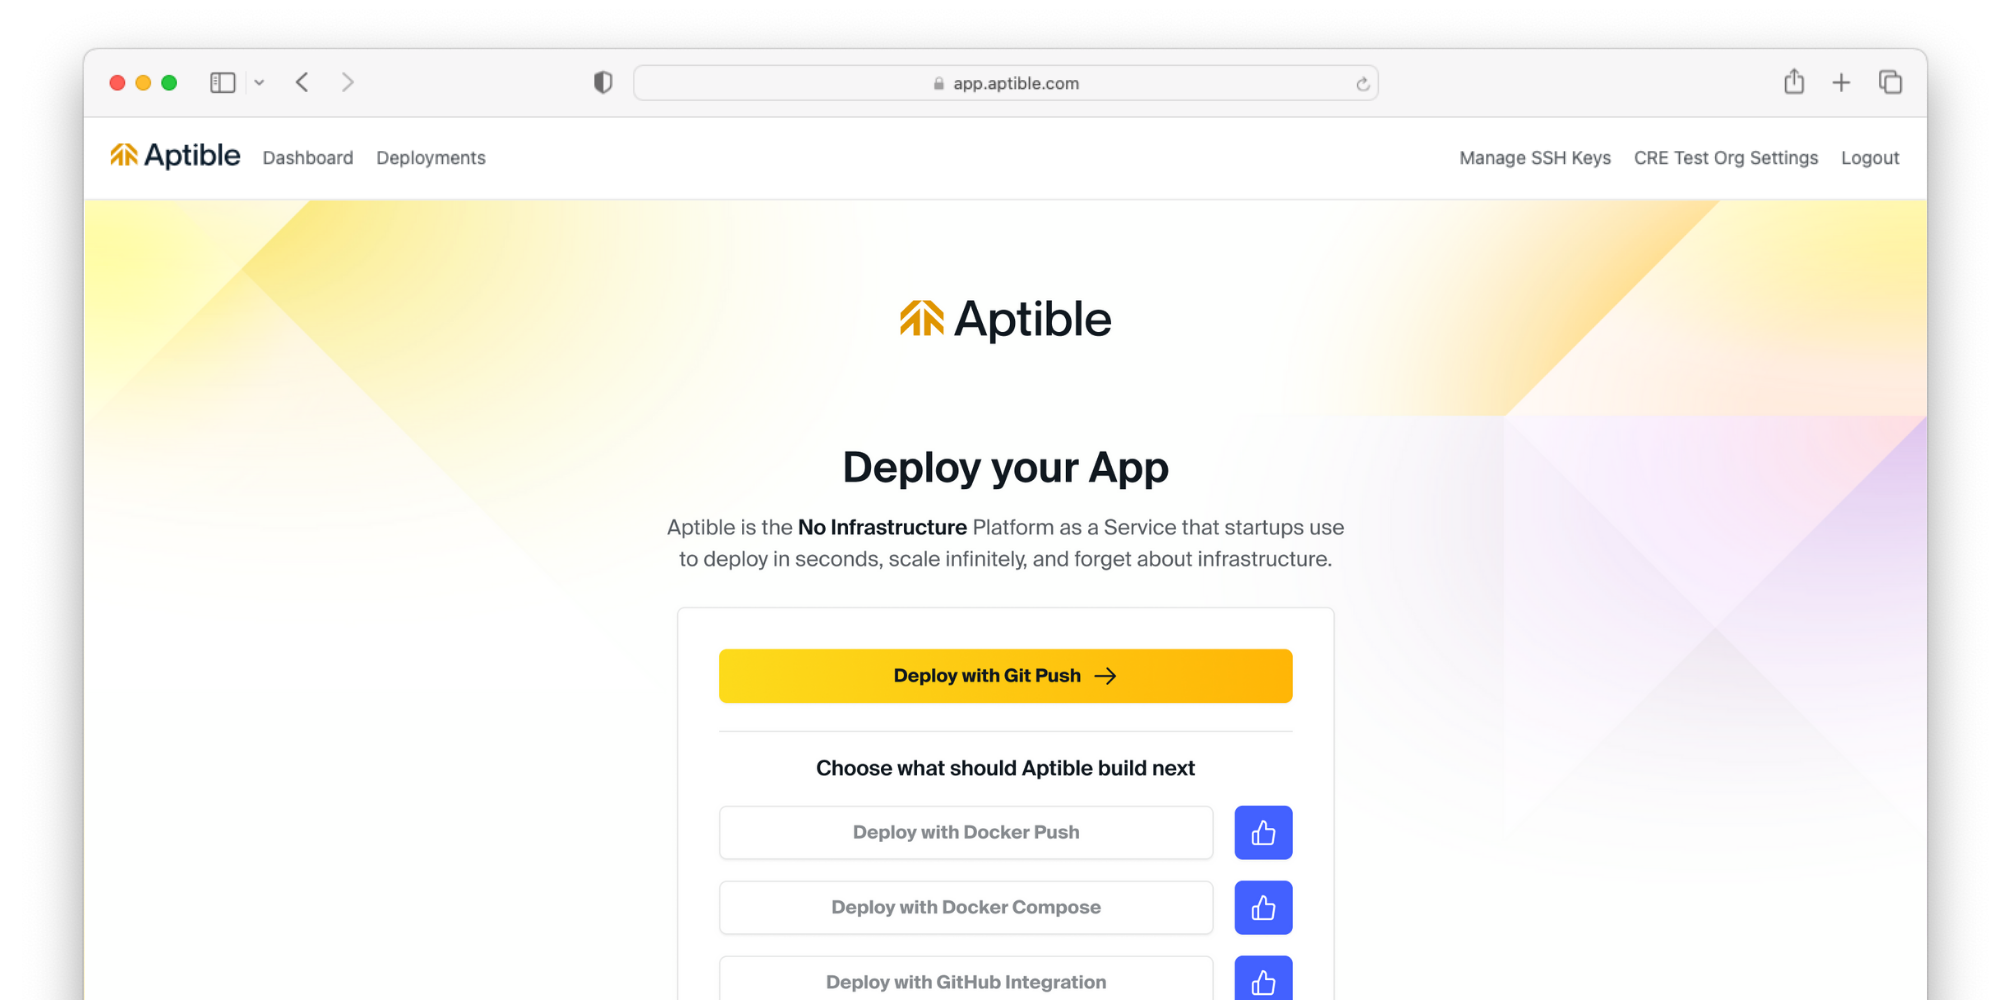
This guide will walk you through the process of launching a PHP app using the Laravel framework.Deploy Template
Prerequisite: Ensure you have Git installed.
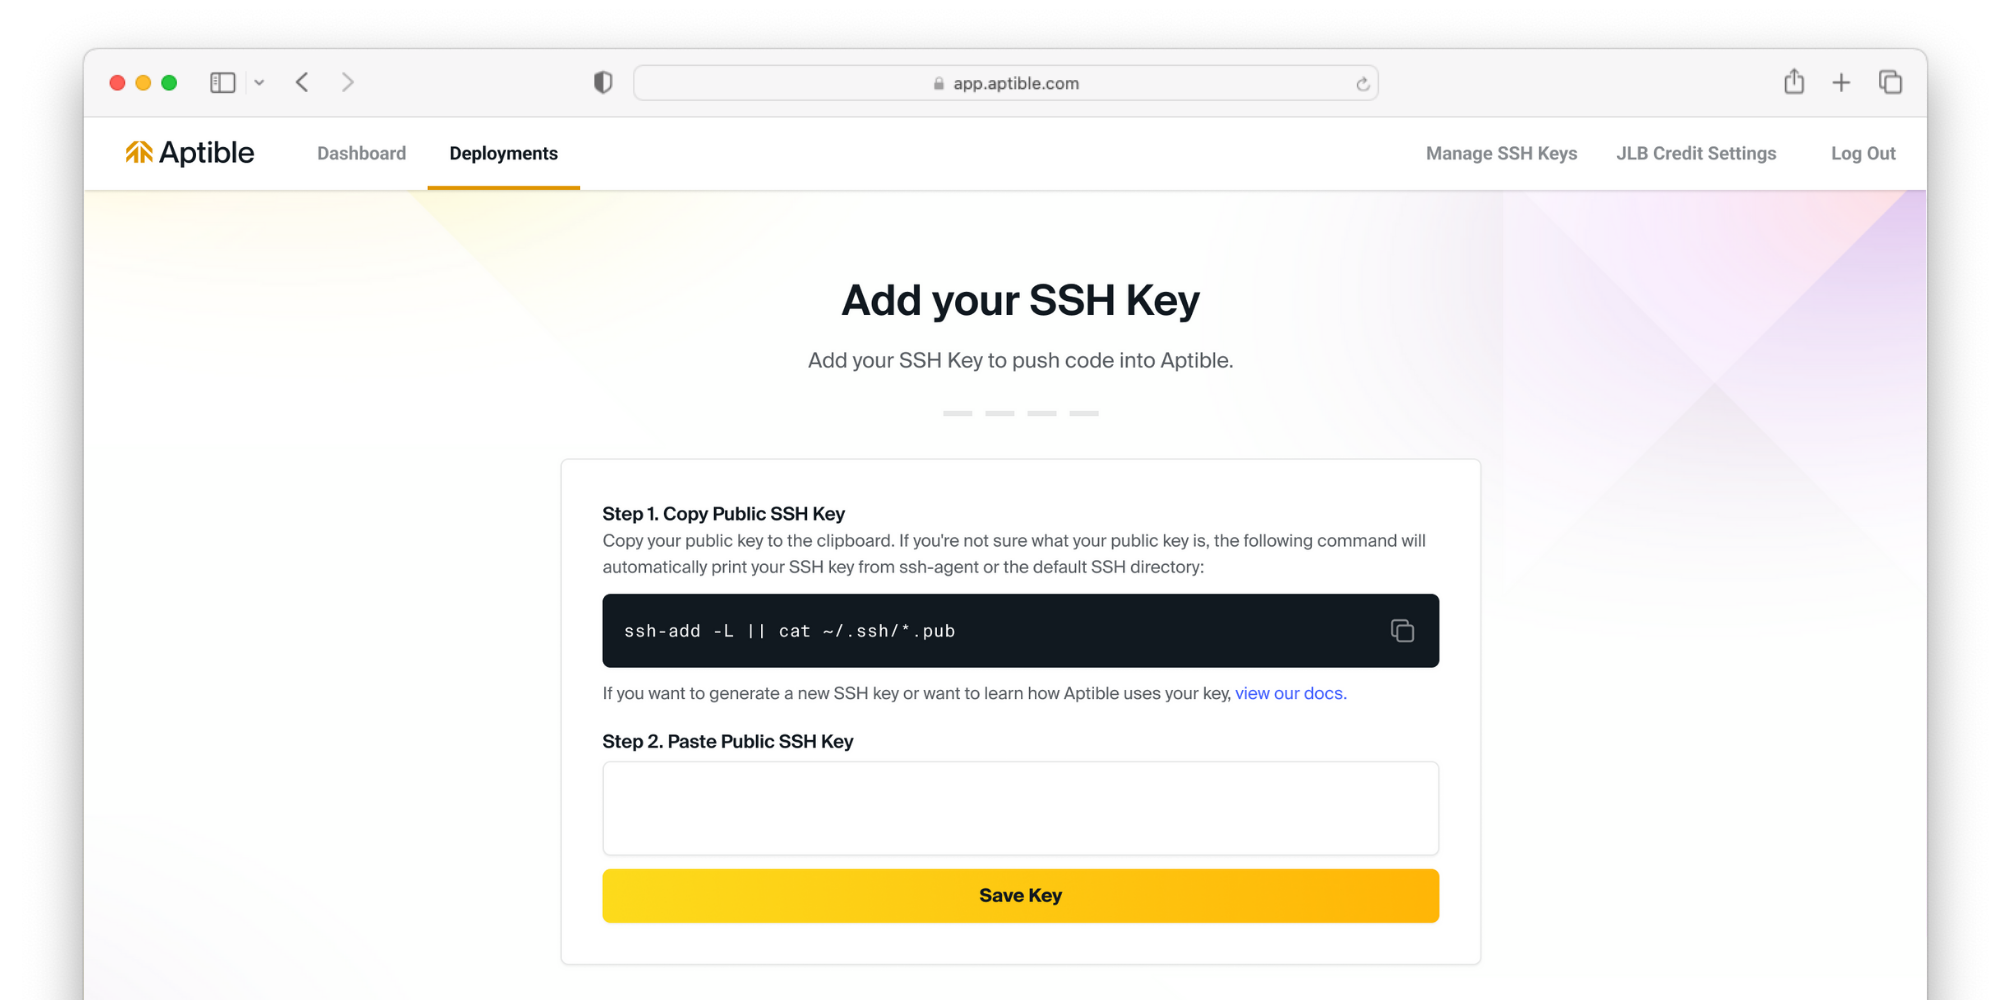
Add an SSH key
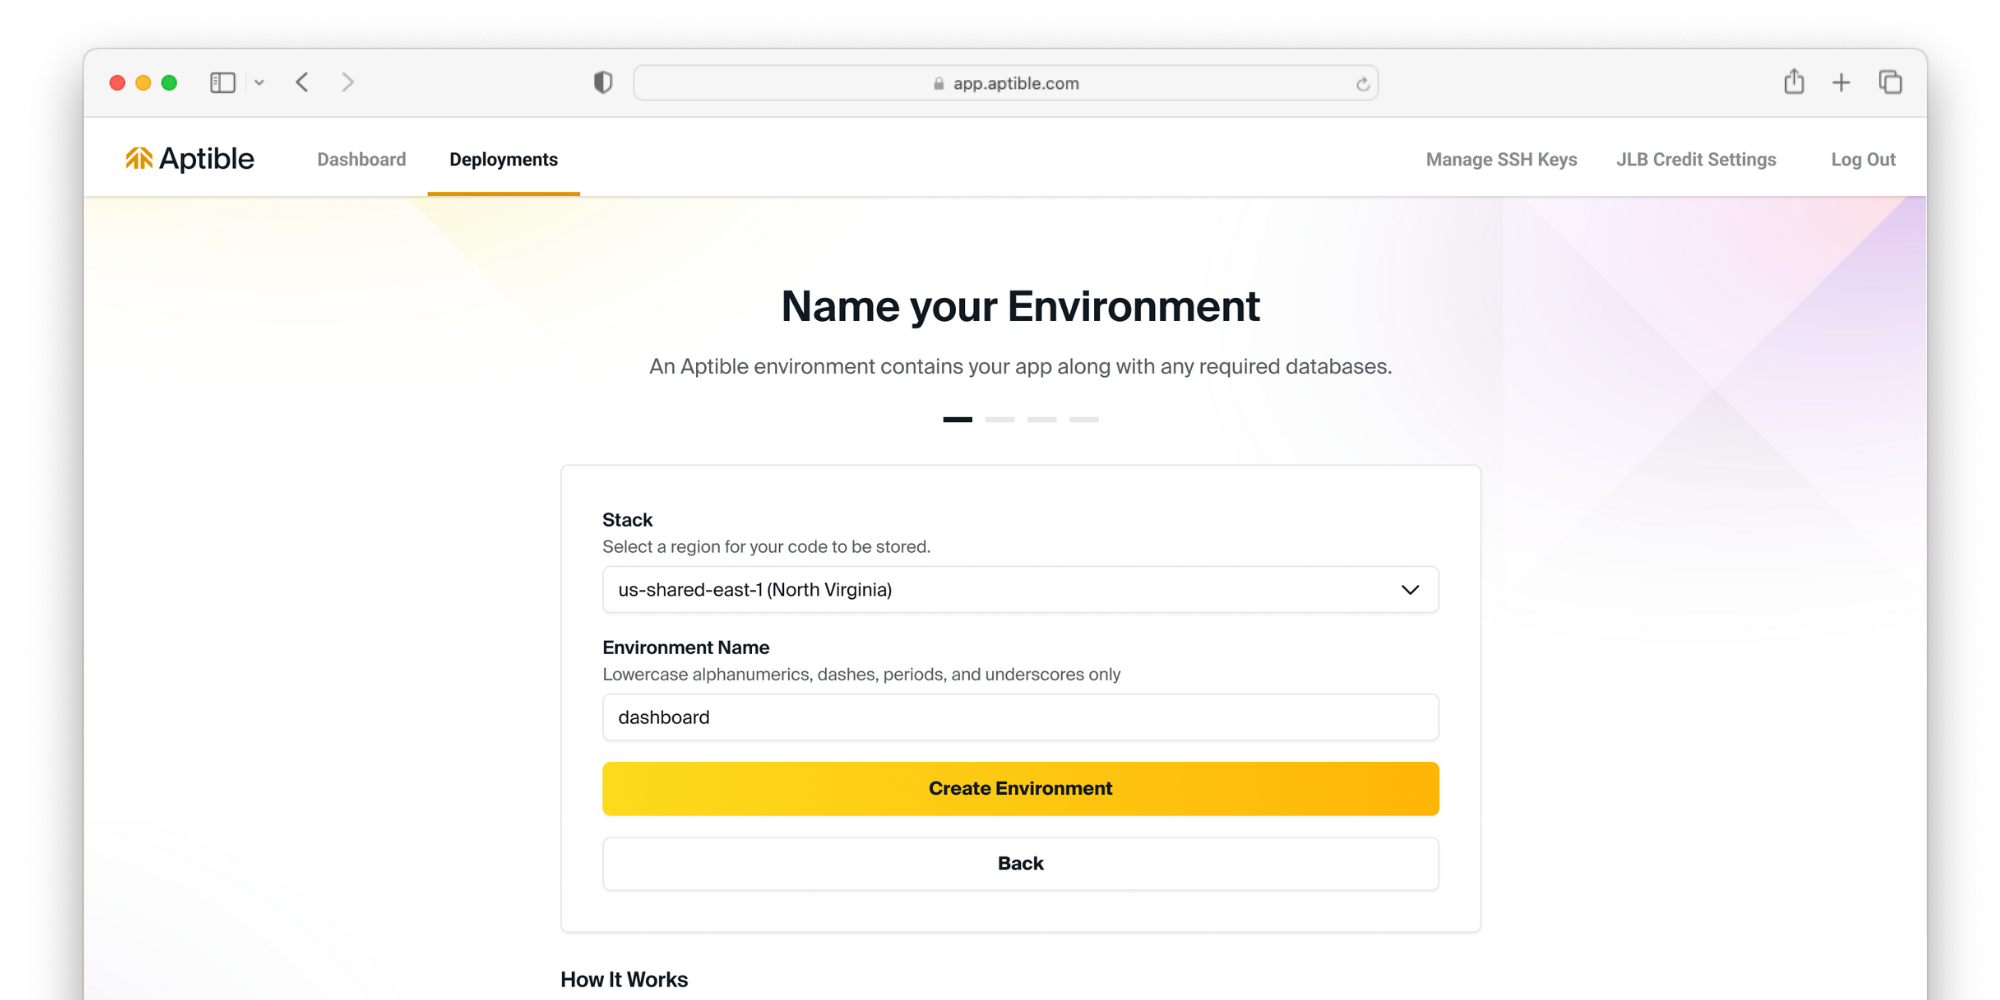
Environment Setup

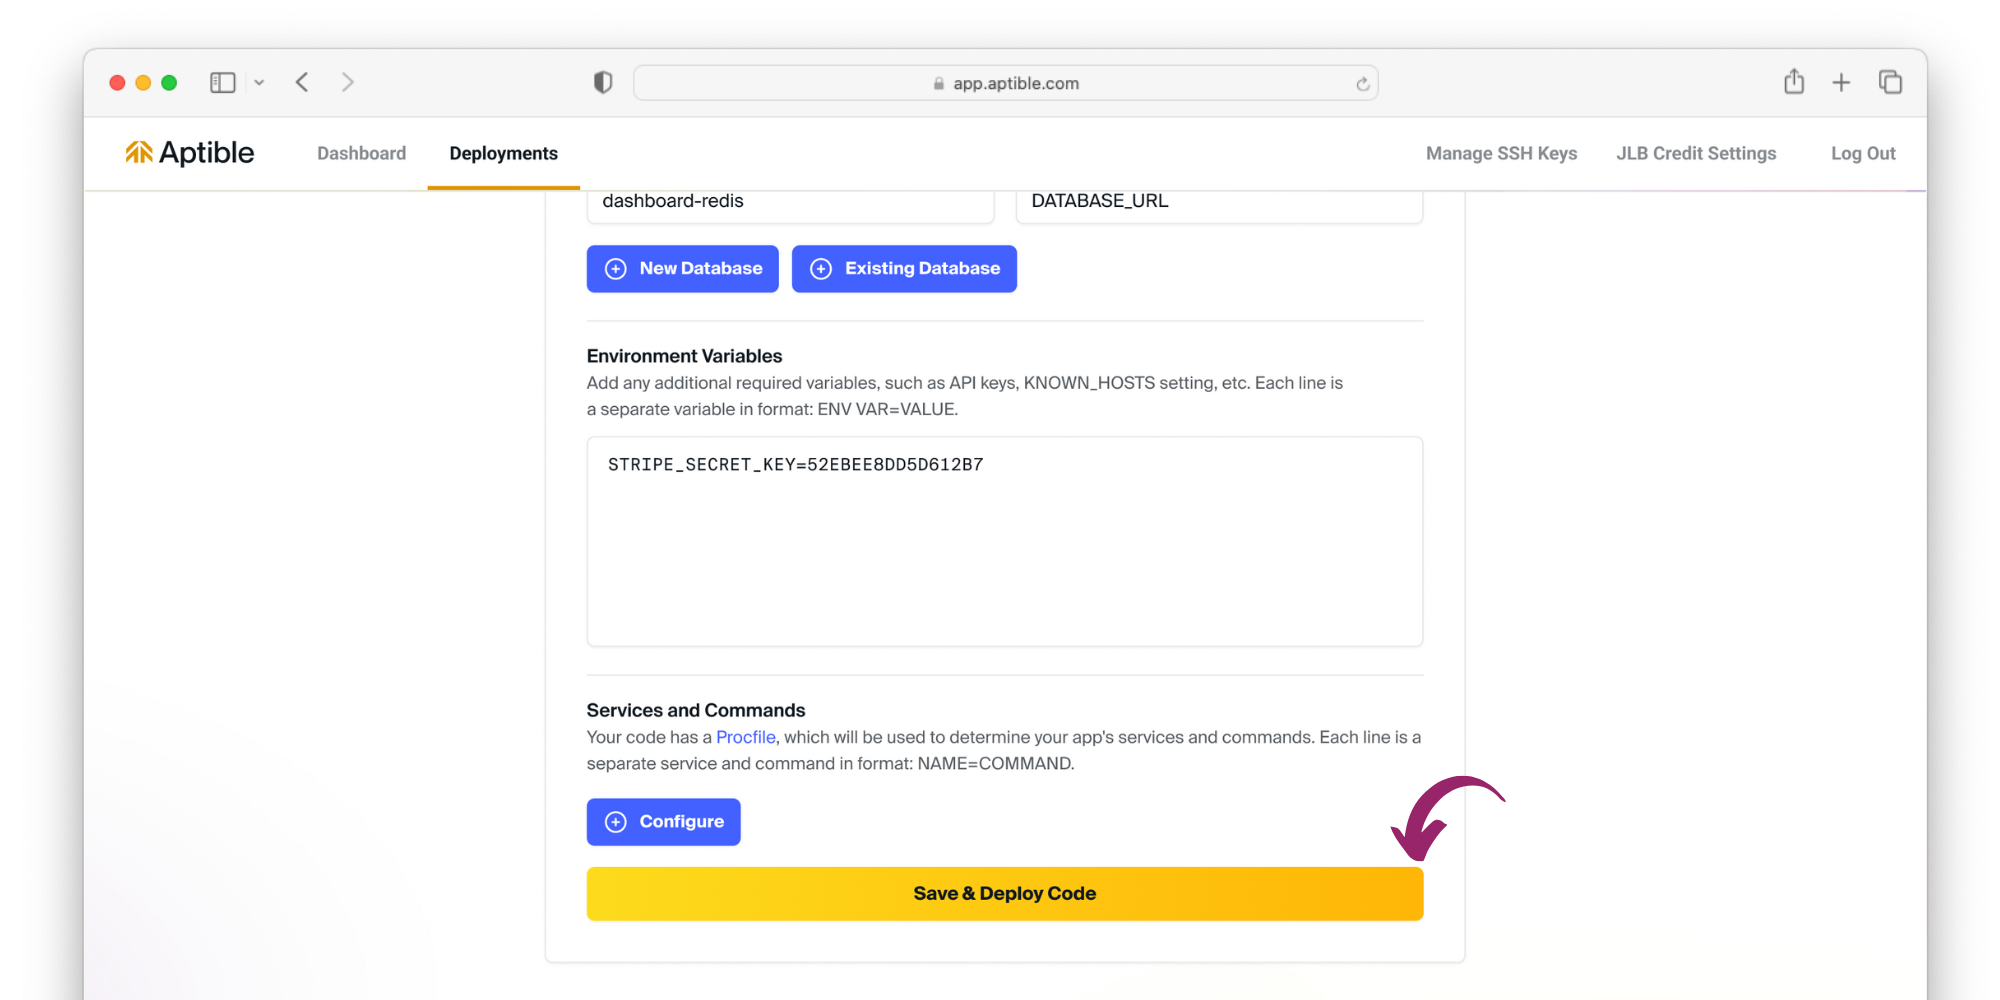
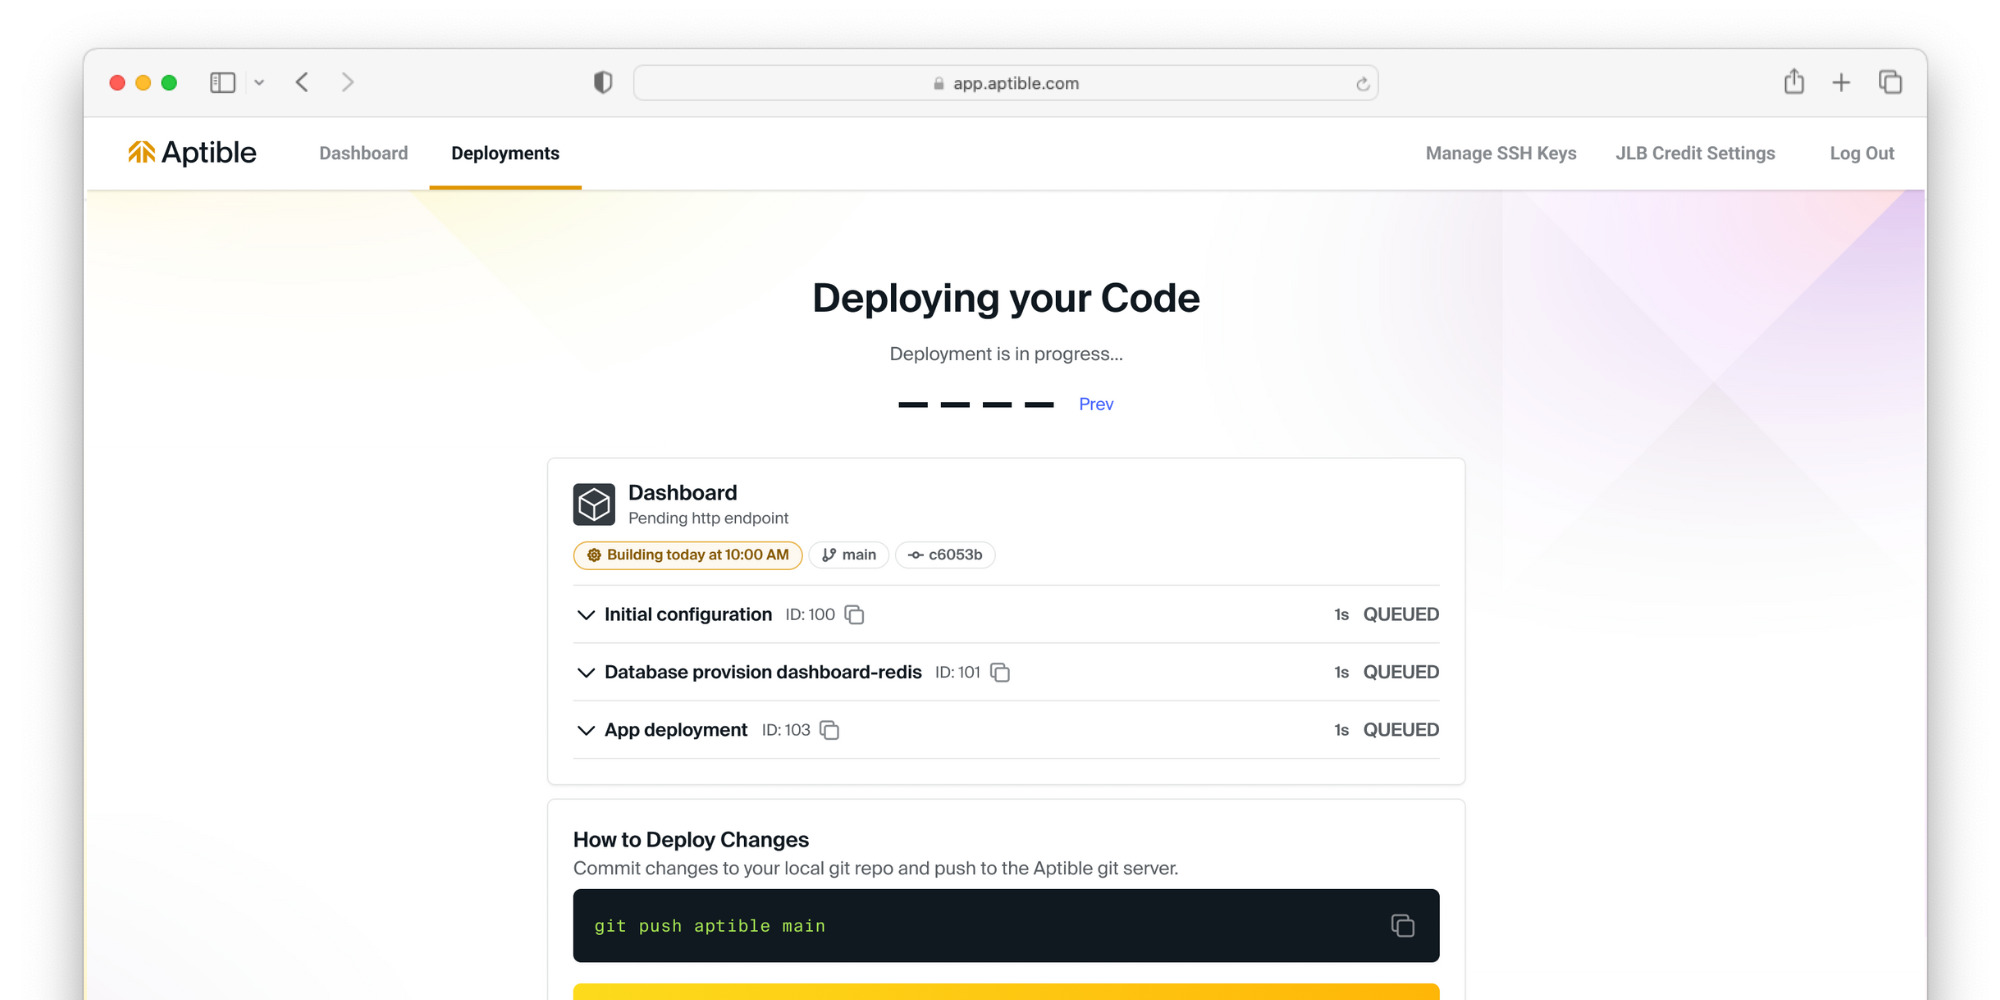
Fill environment variables and deploy!
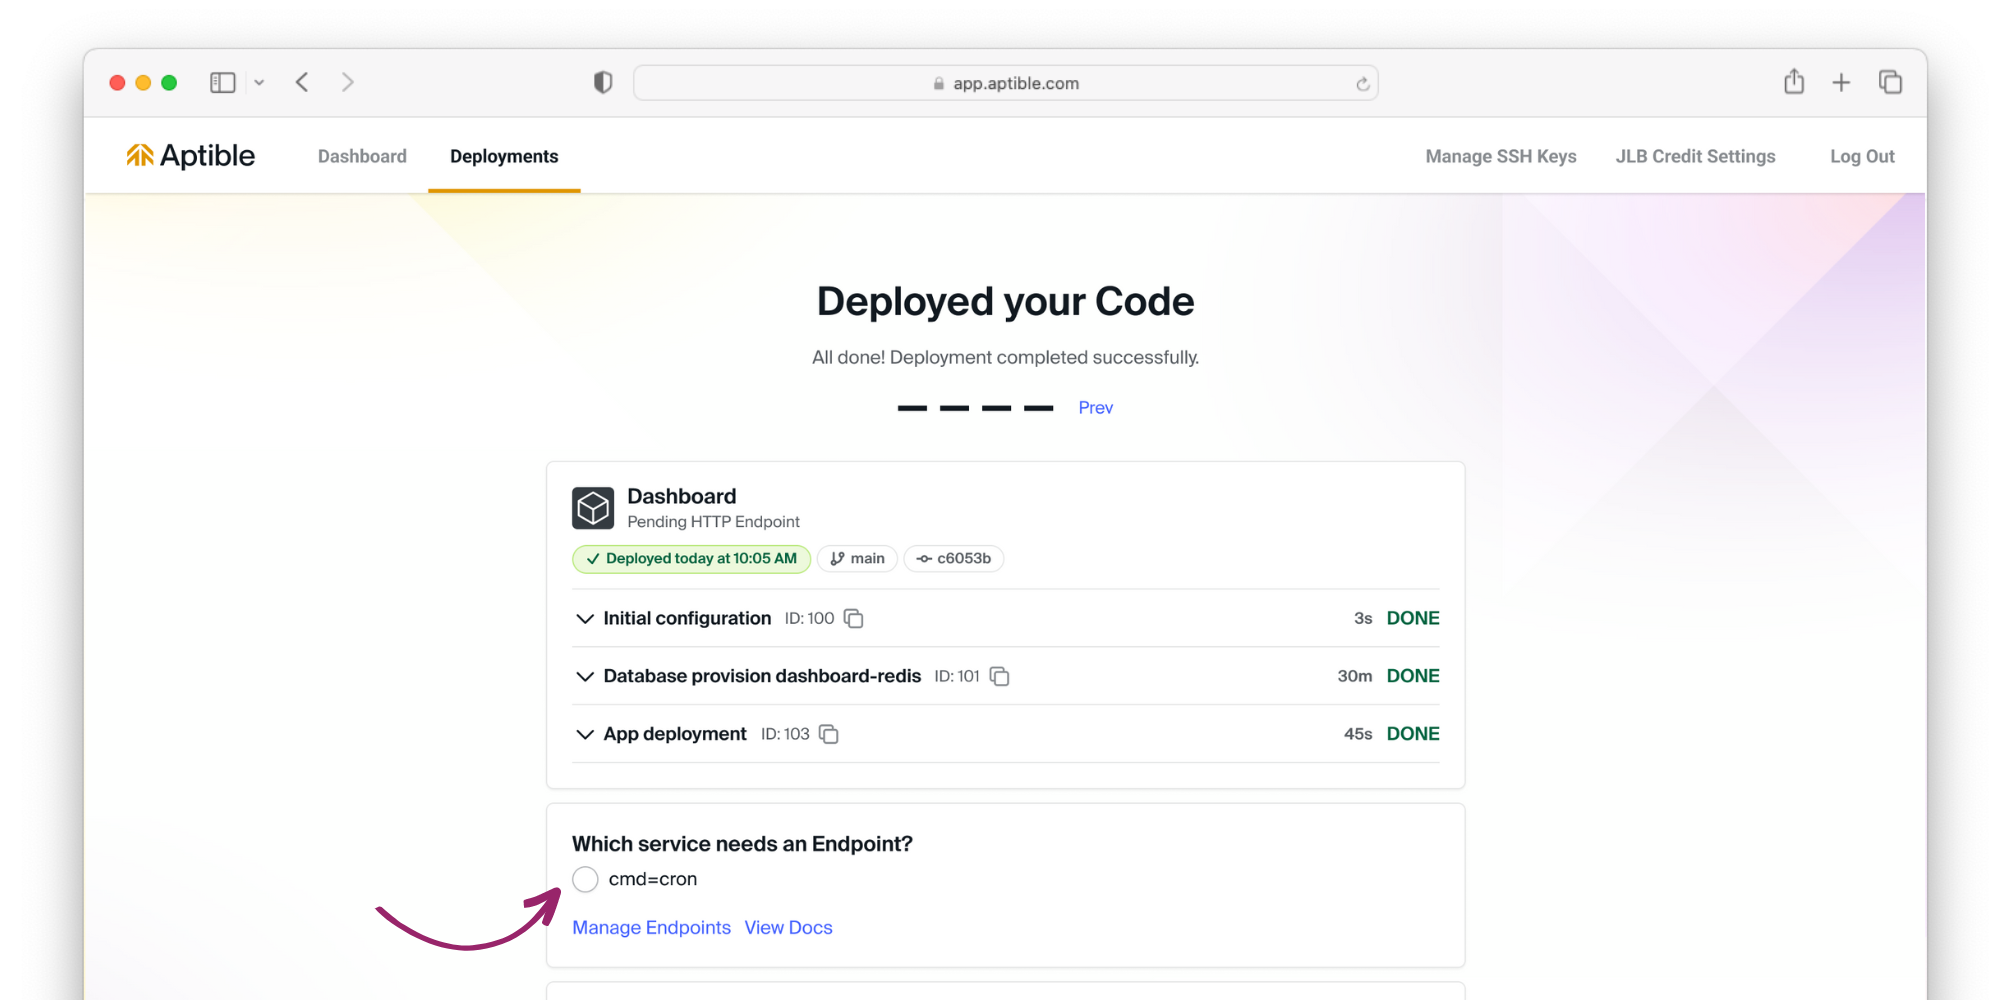
Expose your app to the internet
Continue your journey
Deploy custom code
Read our guide for deploying custom code on Aptible.