> ## Documentation Index
> Fetch the complete documentation index at: https://www.aptible.com/docs/llms.txt
> Use this file to discover all available pages before exploring further.
# Connecting to MCP Gateway
> Get your MCP client talking to the gateway in two steps: create an API key, then point your client at the gateway URL.
## Overview
To use the MCP Gateway with your AI client (Claude Desktop, Claude Code, or any MCP-compatible tool), you need two things:
1. A personal API key to authenticate as yourself
2. Your client pointed at `https://mcp-gateway.aptible.com`
Your admin handles registering servers, setting up grants, and deciding which tools you have access to. Once that's done, this is all you need to do.
## Getting Started
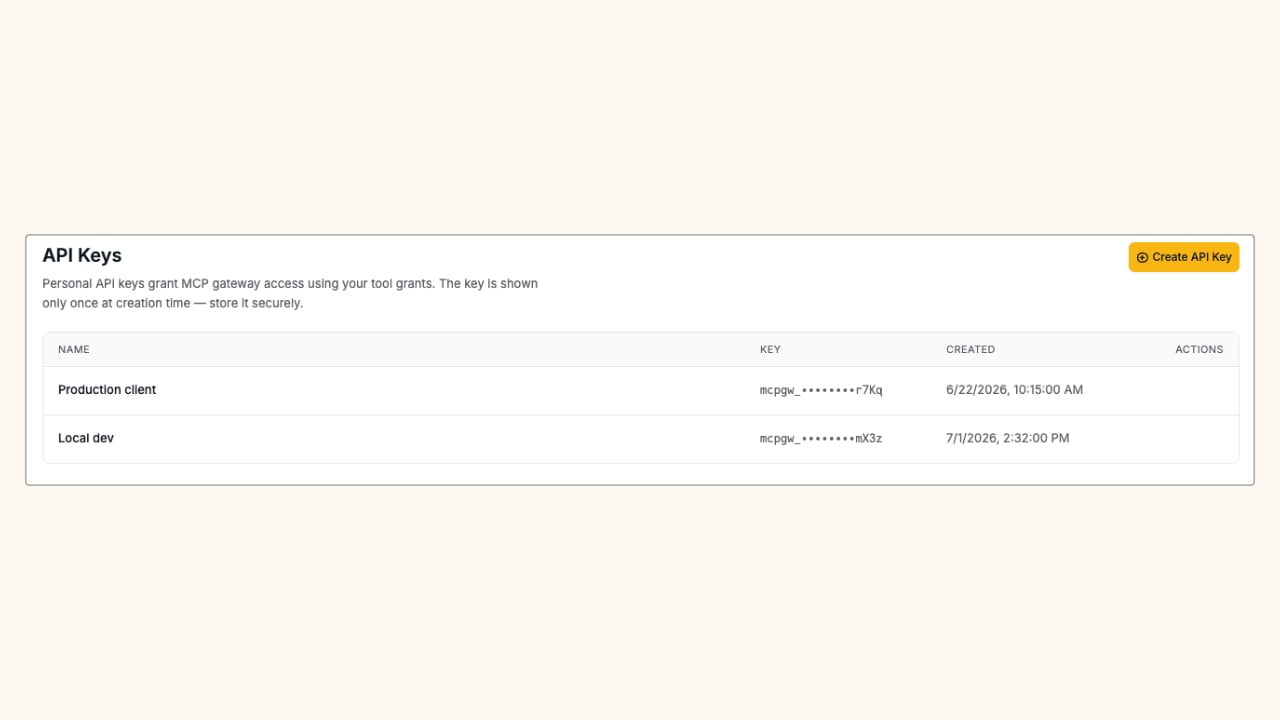
In the Aptible dashboard, navigate to **MCP > API Keys** and create a new key. Copy the token. You won't be able to see it again after closing the dialog.
 Point your MCP client at `https://mcp-gateway.aptible.com` and pass your API key as a bearer token in the `Authorization` header.
Open your Claude Desktop config file (`~/Library/Application Support/Claude/claude_desktop_config.json` on macOS) and add an entry under `mcpServers`:
```json theme={null}
{
"mcpServers": {
"aptible": {
"url": "https://mcp-gateway.aptible.com",
"headers": {
"Authorization": "Bearer "
}
}
}
}
```
Save the file and restart Claude Desktop.
Run the following command to add the gateway as an MCP server:
```bash theme={null}
claude mcp add aptible https://mcp-gateway.aptible.com \
--header "Authorization: Bearer "
```
Configure your client to connect to `https://mcp-gateway.aptible.com` and pass your API key as a bearer token:
```text theme={null}
Authorization: Bearer
```
Refer to your client's documentation for where to set custom headers.
## Using the MCP Gateway
Once connected, your AI client will discover the tools available to you through the gateway. From that point, using the gateway is transparent. You call tools the same way you would with any MCP server, and the gateway handles routing, access checking, and logging in the background.
To see the full list of tools you have access to, navigate to **MCP > My Tools** in the Aptible dashboard.
Point your MCP client at `https://mcp-gateway.aptible.com` and pass your API key as a bearer token in the `Authorization` header.
Open your Claude Desktop config file (`~/Library/Application Support/Claude/claude_desktop_config.json` on macOS) and add an entry under `mcpServers`:
```json theme={null}
{
"mcpServers": {
"aptible": {
"url": "https://mcp-gateway.aptible.com",
"headers": {
"Authorization": "Bearer "
}
}
}
}
```
Save the file and restart Claude Desktop.
Run the following command to add the gateway as an MCP server:
```bash theme={null}
claude mcp add aptible https://mcp-gateway.aptible.com \
--header "Authorization: Bearer "
```
Configure your client to connect to `https://mcp-gateway.aptible.com` and pass your API key as a bearer token:
```text theme={null}
Authorization: Bearer
```
Refer to your client's documentation for where to set custom headers.
## Using the MCP Gateway
Once connected, your AI client will discover the tools available to you through the gateway. From that point, using the gateway is transparent. You call tools the same way you would with any MCP server, and the gateway handles routing, access checking, and logging in the background.
To see the full list of tools you have access to, navigate to **MCP > My Tools** in the Aptible dashboard.
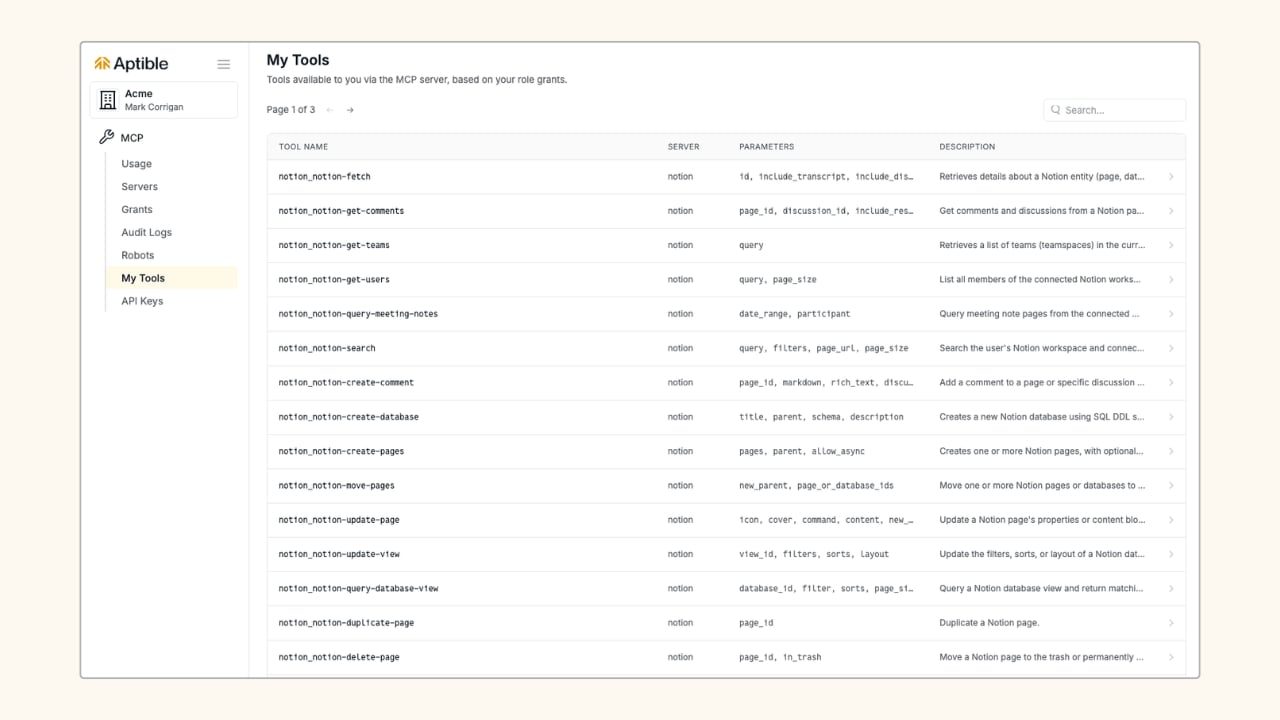 If a tool you expect isn't showing up, check with your admin that you've been added to the appropriate grant.
## Related
Manage your personal API keys.
See your tool call history.
If a tool you expect isn't showing up, check with your admin that you've been added to the appropriate grant.
## Related
Manage your personal API keys.
See your tool call history.